Posts Tagged :

Scratched Glass

How to Polish Glass with a Vibratory or Rotary Tumbler

How to Remove Corrosion from Stained Glass

White mold is a frequent name for stained glass corrosion. It appears on the lead or solder lines, discoloring and spoiling the stained glass item. Flux residue that was not completely removed frequently leads to corrosion or white mold.

Scrubbing the artwork with cleaner is one way to get rid of the corrosion. This will get rid of the corrosion, but it can scratch the glass.

Baking soda may be the greatest solution for cleaning up corrosion. Since baking soda is less abrasive than cleaner, it won’t scratch glass.

A small scrub brush or very fine steel wool is required. First, dampen the steel wool or scrub brush with water. Sprinkle baking soda liberally over the piece after that. Scrub the glass piece vertically, horizontally, and in a circle using the moistened scrub brush or steel wool.

The art glass object should be completely rinsed and dried once all corrosion has been removed with baking soda. You might need to re-patina the object if it has a patina finish. How much corrosion has built up on the item will determine this.

Use a finishing product to polish and protect the art glass item once it has completely dried.

This procedure is quite effective, but it does require effort, time, and repeated finishing. You actually don’t have an option if your stained glass piece has corrosion. For future reference, when building your next piece, make sure to correctly remove flux to prevent corrosion.

Flux is a typical cause of corrosion. Always remove flux from a piece after a few hours. You can use any of the commercial flux removers available. Be careful to adhere to the manufacturer’s directions.

A reliable commercial flux remover is CJ’s. You liberally spray CJ’s on one side of the glass piece as directed by the manufacturer. After cleaning the glass in a circular motion with a light scrub brush, rinse it with water. The other side should then be completed using the same procedure.

You can substitute baking soda and dish soap for industrial flux removers. Sprinkle baking soda on the item first, then lightly scrub it with dish soap. Scrub the item in a circular motion with a gentle, moist scrub brush. Rinse with water, then repeat on the opposite side.

The item should be dried with a soft, clean towel after being cleansed and rinsed with water. Then, let it air dry. Patina can be used when it has fully dried. Applying finishing compound to both surfaces is the final step.

Don’t rush the finishing and cleaning. A thorough cleaning and polishing will save you later time, work, and expense. For quality Glass Polish Services, you can visit https://glasspolishservice.com/.

How to Fix Your Glasses at Home

How to Fix Your Glasses at Home

There are a few reasons why we might need to make little adjustments or repairs to a brand-new or used pair of eyeglasses. When you receive a brand-new pair of glasses, especially if you got them online, the frames may occasionally be somewhat out of proportion with your facial features. Additionally, after years of constant use, a pair of glasses may simply become a little distorted or defective, with a screw falling free. Making the trip to the eye doctor’s office can be a hassle, and to make matters worse, you might be charged for small modifications. While some situations, such as if the lenses are damaged or the frame really breaks, need getting professional assistance right away, others don’t. Here are some pointers for making quick fixes using common items!

Even though this is a tutorial to assist you to fix your glasses should they only need a small adjustment, you still want to be careful not to permanently harm them. Therefore, the best advice is to go right to your neighborhood optical store if your glasses are genuinely broken (or worse, if anything is amiss with your lenses). Any warranty you might have had may no longer be considered valid if you attempt to fix them yourself.

It is quite common for new eyeglass frames to feel a little off-balance after purchase; this is completely acceptable. Plastic frames can also be customized to meet your demands, while metal frames are slightly easier to bend and shape. Put the glasses in warm water to straighten out any slightly wonky frames, and [always] gently bend the temples back into place. You can either set them on the table to see if they are level, but it could be best to compare them to your particular requirements as your face might not be precisely symmetrical.

What if your glasses are old enough to start causing you little issues but you’re just not ready to go out and get a new pair yet? Although the prescription and lens requirements haven’t changed, it feels as though the arms are gradually disengaging. You won’t be required to replace your glasses just yet, so do not worry! Simply grab your smallest flat-head or Phillips-head screwdriver and [again] carefully tighten the screw if one of yours comes loose. Make sure to do this with your glasses fully open and laid out with the arms out. When you try to close the arms after finishing, if you feel that the hinge is too tight, you are probably correct! You should be all right if you try to loosen the screw a little bit. If the issue still exists, try applying a little amount of clear nail polish to the screw before trying the procedure again; similar to glue, the polish will keep the screw firmly in place without causing your glasses any additional harm!

Regardless matter how much money you spend on your glasses; you can’t always assume that they will last. The next time your eyeglasses frames are giving you difficulties, try these solutions and attempt resolving the issue yourself! For quality Glass Polish Services, you can visit https://glasspolishservice.com/.
How to Fix Scratched Glass Like the Pros

Cerium Oxide, a rare-earth chemical, has been used for generations by glass artisans to polish and remove minor scratches from all types of glass. They continue to. You can do the same. For straightforward glass cleaning, restoration, and the eradication of scuff, scratch, and stains, no material is more efficient, adaptable, or simpler to use.

In comparison to the majority of pre-mixed polishing compounds now on the market, cerium oxide powder is also less expensive. It quickly turns into a slurry when combined with water, and a little goes a long way. Additionally, if any slurry remains after the job is finished, it is not thrown away. Simply let it dry out before using it again by adding water.

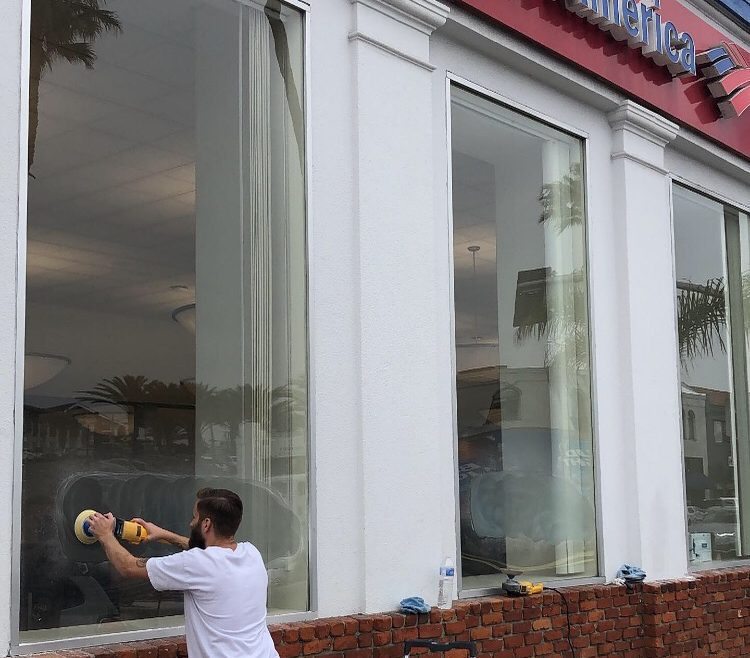
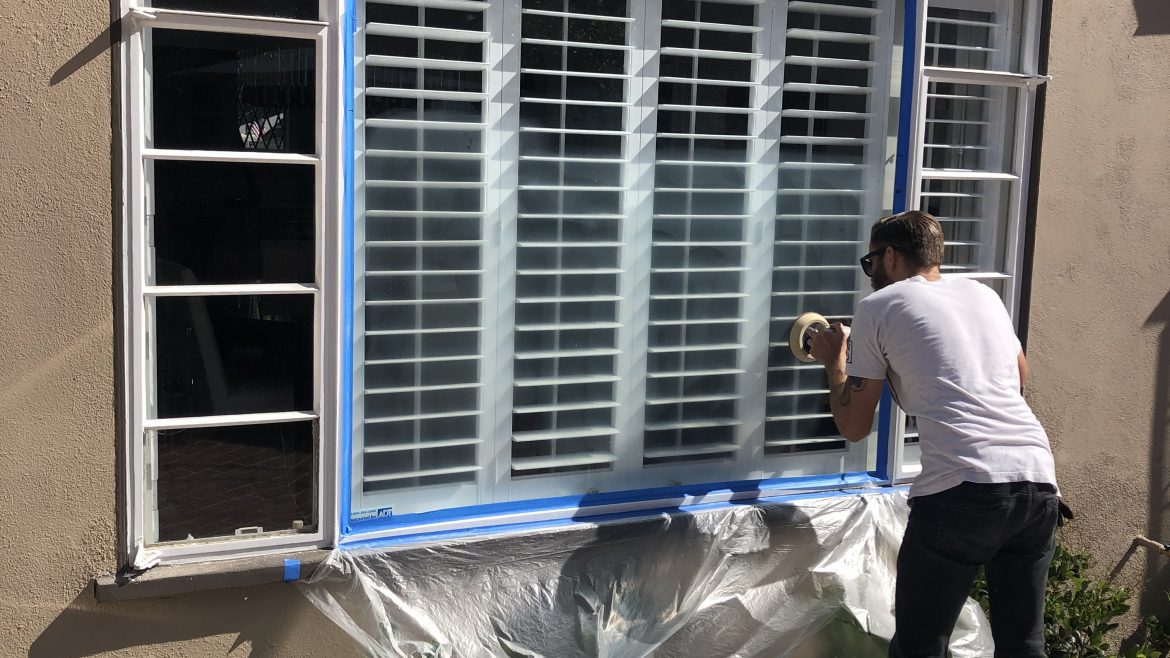
If you’re a skilled do-it-yourselfer, all you need is a little Cerium Oxide, a felt buffing wheel, and an electric drill to attach it to repair mildly damaged windows, tabletops, mirrors, auto glass, or even headlights.

Cerium Oxide will solve the issue if you have dirt on your glass or hard water stains on your shower door that won’t go away with regular household cleaners.

What is a “light” scratch, to begin with? The rule of thumb is that if you can clearly feel a scratch in your glass with your fingernail, it may be too deep to polish out and it is probably not worth the risk to attempt to do so yourself. Cerium Oxide comes to the rescue, though, if you have a cloudy mass of shallow scratches left over from keys or coins.

Online retailers sell cerium oxide and felt buffing wheels with a diameter of roughly three inches. Never forget that you don’t need much. This is how you do it:

  • Use a lint-free cloth or paper towel to thoroughly clean the area you’ll be working on.
  • Get two tiny plastic tubs, about the size of a pint or a quart, and fill one with water.
  • Put the buffing wheel in the water until it is thoroughly damp but not completely drenched.
  • Put a few TBSP of cerium oxide and a little water in the other tub.
  • As you whisk the mixture with a plastic spoon or knife, gradually add more water until the slurry has the consistency of heavy cream. (Checking with your naked finger is absolutely safe, and if there are small particles that don’t completely dissolve, don’t worry.)
  • Your electric drill is required to attach the dampened polishing wheel as you dip it into the slurry.
  • Turn on your drill and place the polishing wheel on the work surface.
  • Keep the pad moving continuously in a side-to-side and circumferential direction.
  • Buff continuously until the slurry is JUST about dry (CAUTION: Be sure not to buff the glass when it is dry. This can cause the glass to overheat and crack.)
  • Wipe off the slurry once it has dried.
  • Simply use the slurry-dampened pad to buff the glass again if you’re not satisfied with how it looks.

All there is to it is that. Remember that the slurry can be kept until it is completely dry and then reactivated simply by adding water. Happy polishing!

Glass Polishing is Good for your Pocket and Your Health

The process of glass polishing involves getting rid of stains and scratches from glass surfaces. It can be used on glass surfaces including dining room tables, home windows, and automobile windows. This technique cleans the glass by repeatedly polishing and abrading it.

Glass polishing came into the cleaning scene a little later, and it took some time for it to become a common method of glass mending. However, now that it has arrived and endured, it has emerged as a favorite across a number of sectors, including transport, construction, marine, retail, and aviation. Businesses can keep their glasses clean with this one technique, which benefits their reputation and productivity.

Additionally, it is widely used for maintaining and cleaning household glass, including windows and other surfaces. This technique works well and cuts down on the amount of time needed to glitter glass. Let’s get to the point and discuss the financial and health benefits of glass polishing. Read on.

Saves time

Cleaning glass by polishing it is a very effective cleaning technique. It gets the job done swiftly and does not require a lot of washing and rubbing. Finding the ideal glass polishing equipment is all that is necessary to quickly remove grime, stains, and scratches. The entire process just needs to be done once, and your glass will look brand new without needing to spend hours washing it.

Saves money

The size of the glass affects how much it costs to wash. You may save a lot of money by purchasing a Glass repair kit. You will always get greater results from it than from washing or cleaning the glass. The fact that glass polishing saves money is therefore undeniable, especially if you have large French windows.

Good for health

The use of harmful chemicals was common in old window cleaning methods, but not with glass polishing. Chemically speaking, this procedure is very safe for your health, and there is also no chance of you cutting yourself while polishing a glass window. It is carried out using a machine that is gentle on the glass and gives you spotless glass without causing any damage.

Better cleaning

We clean glass using various conventional techniques. The most common technique used in households is to clean it using liquid soap, a soft cloth, and then a newspaper or piece of paper. But does that approach actually effectively clean the window and produce the desired results? Never. When windows are cleaned this way, they frequently become much more discolored, and the corners are never completely clear. Additionally, the wood window frames are prone to damage from typical cleaning techniques.

Get in touch with Glass Polish Service if you are unsure about how to begin glass polishing on your own. We have a highly qualified team with years of glass polishing experience. We take on both residential and commercial projects, and we strive to deliver outstanding results.

Can Scratched Glass Be Repaired?

Unattractive scratches on your windows might be caused by trees rubbing against the home or sharp claws from a hyperactive pet. You don’t always need a glass expert to fix the damage, but you should take care of scratches fairly promptly before they turn into cracks.

Any kind of wear and tear on your property might result in window scratches. Over time, scratches frequently become noticeable and their origin is unknown. Light scratches may, however, be easily repaired regardless of where they came from.

You might want to seek the advice of a professional glass repair business if the damage is severe—for instance, if you can feel a groove in the glass with your fingernail. Glass replacement may be necessary if window panes have significant scratches or breaks.

Simple techniques to remove scratches from glass windows

Scratches on glass may be easily removed with materials that are typically found at home.

Technique 1: The Toothpaste or Pumice Soap Fix

Glass may be polished to remove minor scratches using regular white toothpaste or moderately abrasive liquid soap.

Materials:

  • Toothpaste that is plain white (baking soda- and/or whitening-formulated versions perform better than gel formulations); or
  • Liquid pumice or a somewhat abrasive soap for thorough hand washing
  • An old washcloth or soft rag

Directions:

  • Let the area dry after cleaning it.
  • Using a lightly dampened cloth and a tiny quantity of toothpaste, gently rub the scrape in small, circular circles while applying a little pressure.
  • Rub for approximately 30 seconds.
  • Check to see if the scratch has been polished away after wiping away the excess toothpaste with a clean cloth.
  • Repeat as necessary.

Technique 2: The Nail Polish Fix

A glass scratch may be concealed with clear nail polish.

Materials:

  • Clear nail polish
  • Nail polish remover
  • Paper towel or clean rag

Directions:

  • Let dry after applying a light coat of nail paint over the whole scratch area (about 1 hour).
  • When the polish has dried, wipe the area with a towel that has been lightly dampened with nail polish remover to wipe away any excess polish that has built up outside of the scratch.

Technique 3: The Serious Glass Buffing Fix

Try a metal or glass polishing product that comes in a paste if your glass requires a little more care and you still prefer a do-it-yourself fix. These goods are available for purchase online or at your neighborhood hardware shop.

Materials:

  • Product for cleaning glass or metal (look for one containing cerium oxide)
  • Clean, soft rag or sponge

Directions:

  • Apply the polish as directed on the label, being careful not to apply too much as doing so might lead to the development of new scratches.
  • When done, remove any extra material with a fresh, moist towel.

If none of the DIY scratch removal techniques listed above work for you, you can get help from a professional glass repair service. For all your glass polishing needs, you can get in touch with Glass Polish Service.